
Here is another look at our Vestal, Matt - in the top left you can see his sanity gauge - currently all outlined, which indicates stress of 100. Each can also be filled in which shows an increase up to a maximum of 200. At this point, heart attacks become a risk. You can also see that he is still Irrational, and will be until this stress is healed. You can see the various traits in red, which are penalised due to this affliction.
Thankfully, in week 2, we get two new buildings which help to deal with stress.

From left to right these are...

The Tavern, which includes the Bar, Gambling Hall and Brothel. Each allows an adventurer to spend a week in them to reduce their stress. They can be individually upgraded to allow more space, heal more stress, or be cheaper. The Bar is cheaper than the Gambling Hall, which is in turn cheaper than the Brothel, though all costs increase as the level of the hero being treated does.

We also have the Abbey, which includes the Cloister (for meditation), the Transept (for prayer) and the Penance Hall (for flagellation). It works exactly the same way as the Tavern. Also note, however, that the caretaker is currently taking up the Cloister slot - he moves around each week but always takes up a slot somewhere.
We desperately need to reduce the stress on both Derek and Matt. Looking at their character sheets, Derek is a Bad Gambler, which means that he might lose me even more money if sent to gamble, so we'll put him somewhere else. We also see that Matt is a Meditator, which means he gets additional benefits from meditation. Sadly, the caretaker is there, so we'll send him to pray instead. We'll put him in there. Derek can go drinking as it's the cheapest option. A week spent healing his stress will also remove his affliction.


And then time to recruit.

Sadly, we never found the Deed that we wanted for the upgrade, so we are stuck at 3 recruits per week, and in this instance we have another Plague Doctor, another Highwayman and an Occultist (lots of range stuff including some very highly random healing with a chance of causing the healed to Bleed!). Beggars can't be choosers, so we'll grab them all. A warm welcome for our newest recruits.


And onto adventure!

Most regions are still locked, but we do get a choice of adventure this time. The two right hand ones are medium length, but with three newbies in the party, we'll hold off on those. I go for a short one, but it offers 3 deeds as a reward.

Again, we need to explore 90% of rooms, and there is an area in the bottom left where we have a choice of route. We'll probably end up taking it and ignoring the final room in the bottom right.

An opportunity to use my one and only key comes up in the first corridor. I take it, but it's better used than wasted and I don't know that another opportunity will arise. It includes 2 Busts and 1125 gold - well worth it (unless something better comes up which I then miss).

The first battle is fairly straightforward.

The next thing we come across though, is a curio - a stack of books. They are one I tend to avoid, as the chances of a negative result are greater than that for a positive one.

The next battle is our first against four opponents, which allows us to use lots of area effect stuff. It's fairly straightforward, though Reynauld's stress is getting a little high.

The reward includes a trinket - they are special items you can equip on adventurers which give different benefits and problems. This one is exclusive to Houndmasters, but we can take it home for later use.

The suit of armour is also pretty nifty, teaching Reynauld to be a Ruins Adventurer, which means he takes 20% less stress in the Ruins.
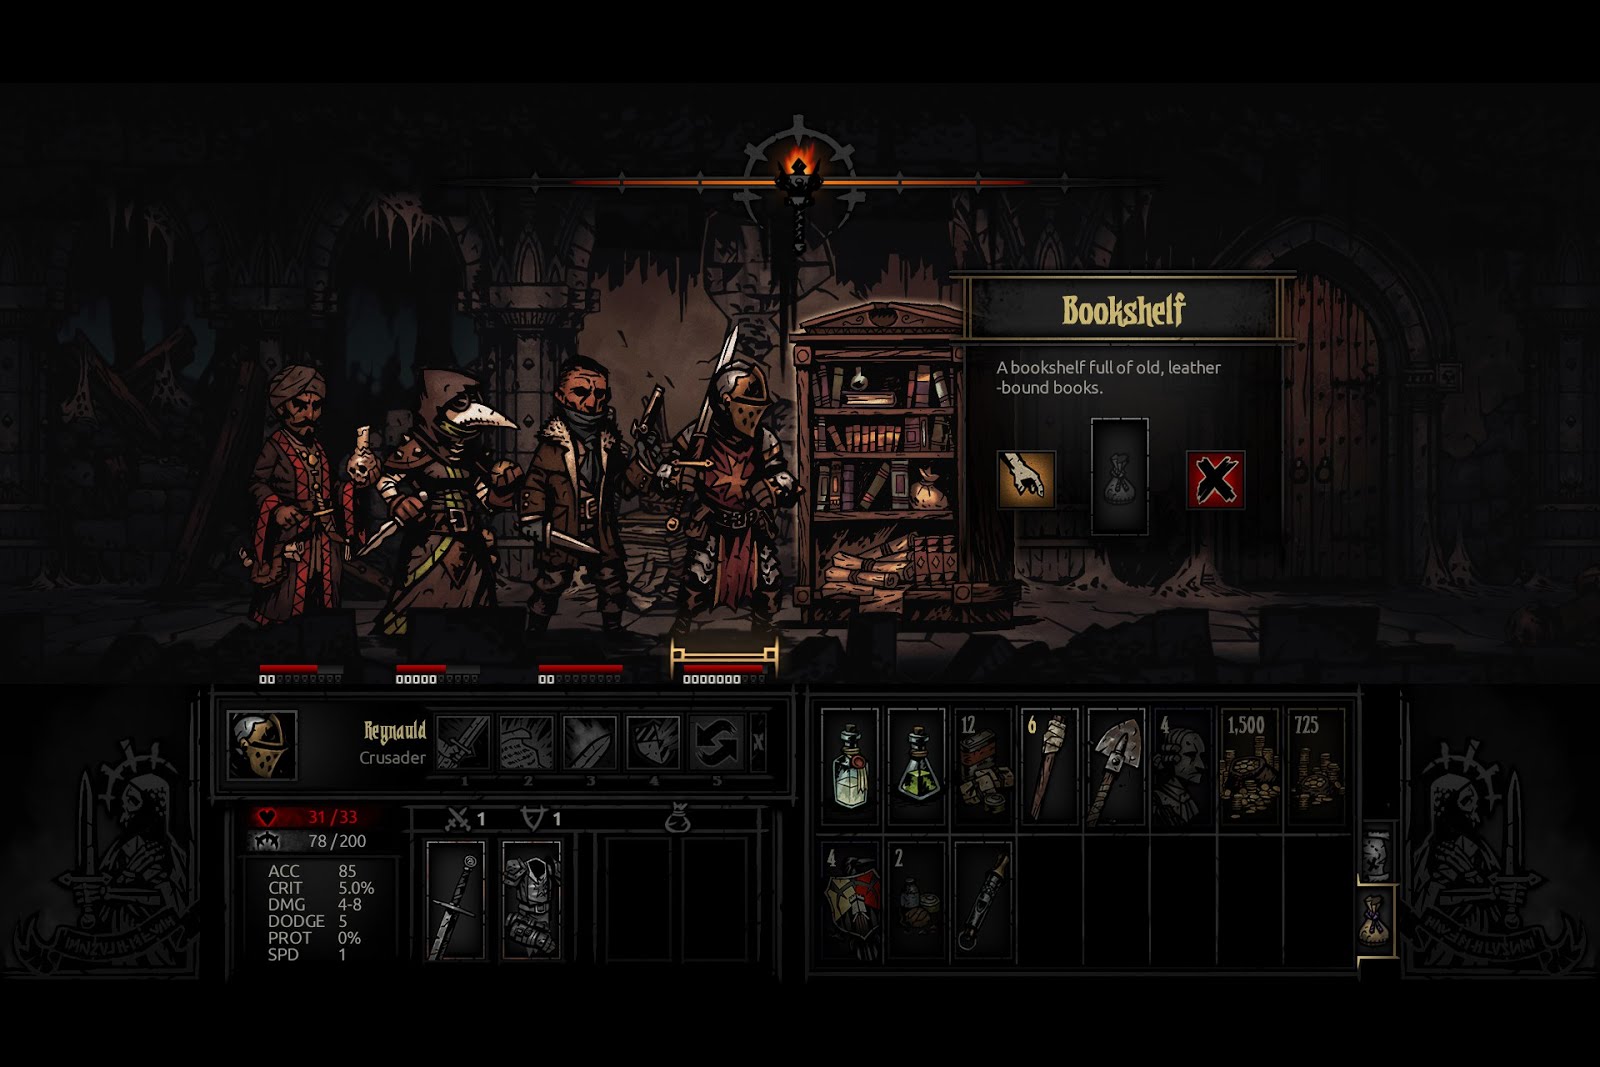
Bookshelves are another curio that often does more harm than good.

A lucky scouting opportunity gives us a taste of things to come (and shows that taking the detour allows us to avoid a battle.

The Confession Booth is a welcome sight - using Holy Water with it cures 30 stress, which Reynauld desperately needs.

Another room, another battle.
Each class actually has seven different skills, and each adventurer starts with 4 of them randomly. So, our new recruits have slightly different abilities to our old ones.
Jess has Plague Grenade (inflicting Blight on the back two opponents - fantastic against the Undead), Incision (Bleed, which is good against the Cultists), Battlefield Medicine (a small amount of healing and cures Bleed and Blight) and Disorienting Blast. In this case, a Plague Grenade seems good.

Marianne (our Occultist) has Sacrificial Stab (bonus damage against Eldritch, but needs to be much further forward), Abyssal Artillery (attacks enemies in spots 3 and 4, again with a bonus against Eldritch), Wyrd Reconstruction (which heals 1-10 hit points, but might cause Bleed) and Hands from the Abyss (which Stuns but causes the torch to go out quicker, and has to be used from further forward). Some healing is needed, so Wyrd Reconstruction it is.

Gwen is largely the same as Dismas, but has Point Blank Shot - a very good but situational skill. It does lots of damage, but requires the Highwayman to in the front spot, which rules out a lot of his other skills. It can also only target the front opponent. In this case, we want to get rid of both the Courtier and the Cultist - but we can't target both of them. Courtier is, at least, Blighted, so we'll focus fire on him to try to finish one off.

Which was successful.

The battle ends fairly swiftly after that, with a combination of Marianne's Wyrd Reconstruction and Jess's Battlefield Medicine keeping everybody more or less healthy.

One of the options for Confessionals if you don't have holy water is the removal of a negative trait, so Gwen is no longer Nervous.
Within short order (one more battle where nothing particularly interesting happened), the quest is complete.

And our new traits are announced.

Gwen becomes a Cove Explorer (additional damage in the Cove), Jess becomes Curious and develops Quick Reflexes (bonus speed) and Marianne becomes a Man Slayer (additional damage against humans) and Love Interest (can only recover stress at the Brothel!).

And we get the results of the weekly activities that have been ongoing. Derek is sluggish from drink, which means he has a speed decrease (seems legit).
No comments:
Post a Comment